Build a Simple Coda Doc
8:06Now that you're a little more familiar with Coda, it's time to explore some of Coda's core building blocks.
Sign up with Coda
Signing up with Coda is simple and free! Visit coda.io/treehouse to get started.
Coda Update
When typing in Coda (on the page, in a cell, or even in an expanded row modal), you can now highlight text to select it, which will display the formatting toolbar right by the text you wish to edit. You can also access the toolbar at any time by pressing ⌘ on a Mac or Ctrl on a PC.
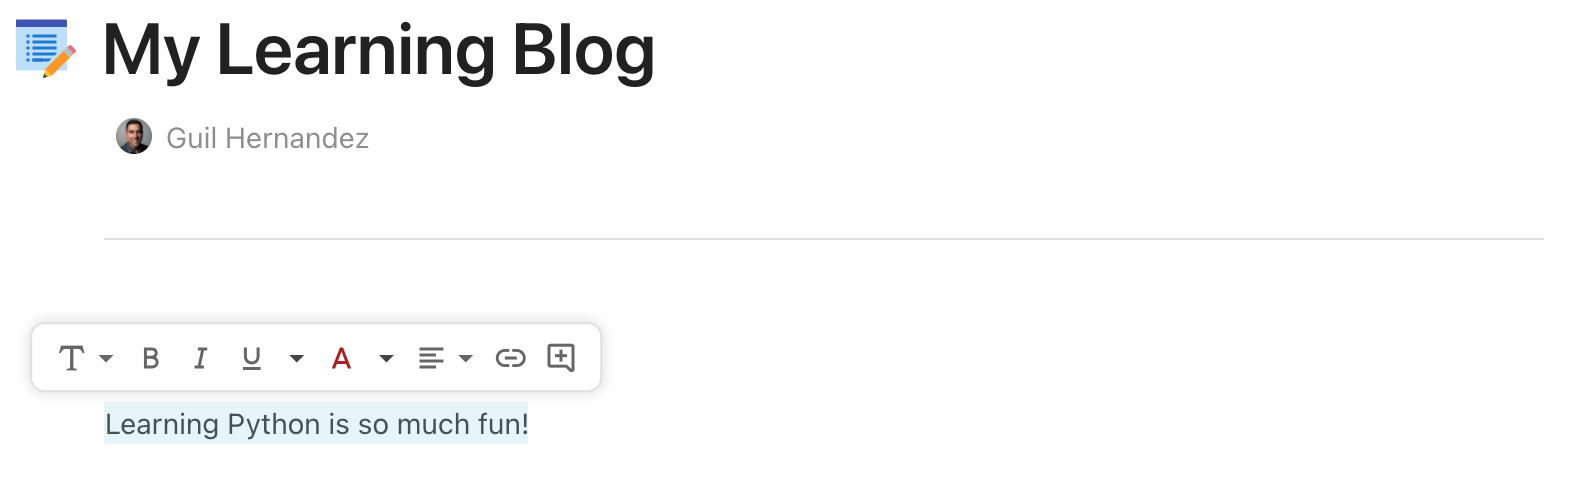
The contextual toolbar only shows up when you need it, allowing Coda docs even more space for your content.
Resources
Related Discussions
Have questions about this video? Start a discussion with the community and Treehouse staff.
Sign upRelated Discussions
Have questions about this video? Start a discussion with the community and Treehouse staff.
Sign upAs mentioned in the previous video, 0:00 Coda Docs can be as simple as a writing surface. 0:02 Or for managing sets of data, creating custom workflows, and even creating apps. 0:05 Now that you're a little more familiar with Coda, 0:10 it's time to explore some of Coda's core building blocks. 0:12 I'm going to walk you through how to create and publish a Coda doc. 0:17 We'll create an About Me doc, 0:21 where we'll list some skills we're currently interested in learning or 0:22 developing and create a simple blog we can use to share our learning journey. 0:26 This is how it's going to look when complete. 0:30 In my About Me page, I've displayed photos that best describe me. 0:33 Then I've got some topics I plan to learn at Treehouse for example. 0:38 And the My Learning Blog page lists each of my blog entries. 0:42 Once I publish this doc, I can easily share it with my friends and family. 0:46 I encourage you to follow along with me as I create this doc. 0:51 Making your own doc from scratch is probably the easiest and 0:55 most fun way to learn about some of the building blocks that Coda offers. 0:58 Okay here on the main page at coda.io/docs 1:03 I'll make a new doc by clicking "New Doc". 1:08 This time I won't be using a template or importing any tools or files. 1:11 So I'll select "Start with a blank page". 1:15 In Coda, pages are the most essential building block. 1:19 Everything starts with a page like this one. 1:22 In this case, it's an empty page. 1:24 Coda refers to the blank part of a page as the Canvas, 1:27 because it's much like a painting canvas. 1:30 It's super flexible, and full of infinite possibilities. 1:33 As you'll soon learn, you can throw anything on the Canvas – text, images, 1:36 videos, content from other places and apps, and more. 1:40 I'll start by adding some text to my empty Canvas, starting with a title, About Me. 1:44 I'll click the Add icon button to add a fun icon to my heading like this one here. 1:51 Next, how about adding an attention grabbing cover 1:58 image to the top of the stock? 2:01 To set a cover image, hover over the top of the page and click Add cover. 2:03 Then you can add your image by either choosing one from Unsplash, 2:09 which is a fantastic directory of free stock photos. 2:13 Or you can upload your own image by clicking Upload Image. 2:16 I'll choose one from Unsplash. 2:20 I'll type "code" and this one looks great. 2:22 Below my title, 2:28 I'll type an introductory paragraph that starts with an emoji of course. 2:29 Coda has a shortcut for reviewing and searching for building blocks you can 2:34 add to your doc, simply type a forward slash into your canvas. 2:39 For example, I'll search for the wave emoji like so. 2:43 Then enter my text. 2:52 "I'm Guil, a developer, lifelong learner and instructor at Treehouse. 2:55 This is a space where I'm documenting all the new things I learned about 2:58 programming." 3:01 I mentioned earlier that I wanted to feature a learning blog. 3:03 So I'll add a second page to my doc and call it My Learning Blog. 3:07 You can name yours whatever you'd like. 3:12 I'll also add a page icon and a cover image. 3:14 This time I'll upload my own image by clicking "Add cover", 3:22 and dropping my image onto the top of the page. 3:26 Now let's create a simple structure for our blog posts. 3:31 We'll add text, format the text, and add hyperlinks. 3:34 Since this is the blog where my most recent posts will appear at the top, 3:38 I'll start by adding a couple of spaces below my title, then type today's date. 3:43 Next I'll format the date by selecting it, then going to the text 3:52 formatting toolbar to format it as a H2 or Medium heading. 3:57 This is also where you can format text as bullet points, numbered lists, and so on. 4:03 Now, below my heading, I'll add some text for 4:09 this first entry about a new Python course I'm about to take at Treehouse. 4:13 Like many other docs, I can turn text into a hyperlink by 4:20 selecting the text I want to convert to a link. 4:24 Then, up in the toolbar, click the Insert Hyperlink icon and paste in a URL. 4:28 I can add other elements to my pages like divider lines and images. 4:36 With Coda, you can even embed videos you can play directly from your doc. 4:40 So for example, on the line below the title, 4:45 I'll type /line, then select Line separator. 4:49 This creates some visual separation between the page title and 4:54 the blog entries. 4:58 Below my paragraph, I will add an image of me. 4:59 To upload an image into your page, you can either type /image, 5:02 then choose the image to upload. 5:07 Or you can drag the image into your page, then adjust its size if needed. 5:09 Now below my image, I'll embed a YouTube video about learning Python at Treehouse. 5:23 I'll type the text, "Here's a little more about the course if you're curious." 5:29 And remember, the slash command saves you time and 5:43 keeps you in the flow when making docs. 5:47 So I'll type /video. 5:50 Under media, select video, and here you can add a link to any video you'd 5:54 like to embed from YouTube, Vimeo or Facebook. 5:59 For example, I'll paste in a link to a YouTube video 6:02 And notice how you can simply click on the video to play it from here. 6:09 You can also embed other types of content into your pages. 6:19 The easiest way to embed content is to type /embed on a blank line, 6:22 and Coda includes a few quick suggestions to let you add any links you'd like. 6:26 Finally, let's tidy up our page a bit. 6:32 The more I learn, the more entries I'll likely add to my blog, so 6:35 I'll need a simple way to keep this page organized. 6:38 Coda offers a few options for organizing your doc. 6:42 One of my favorites is using collapsible content to consolidate pages. 6:45 For example, hover over the three dot menu to the left of the heading, 6:50 then click on the menu icon and select Collapse content. 6:55 Notice how the content below the heading collapses. To view the content, 6:59 click on the arrow icon. 7:03 Next, I'll create a new blog entry just above the first one. 7:11 I'll add the text "Learning Python is so much fun." 7:27 Then I'll collapse it, and the result is a much cleaner looking page, 7:37 which is especially helpful if your page has a lot of information. 7:43 All right, I've created my two main pages, 7:55 and it looks like the structure of my blog is complete. 7:58